
This recipe was adapted from one originally published on a now-defunct blog, with modifications from a few tests plus reading about croissant technique more generally.
In terms of substitutions, vegan croissants are very close to their un-altered cousins: the only non-vegan ingredients are milk and butter, and milk isn’t particularly essential to the finished product. However, the butter is really the star of the croissant, so this recipe is really sensitive to which vegan butter you use. I use Miyoko’s Unsalted Vegan Butter for the bulk of the filling because it has its own tasty flavor, and it holds up well to the lamination process. I’ve also made these with the salted version of the same butter, and they were good, but the extra salt gave them a kind of movie-theater popcorn vibe.
A major difference between all vegan butters and cow butter is both the melting point and the texture of the butter prior to melting. When laminating croissants, ideally the butter and the dough are approximately the same texture, and the careful dance of “into the fridge, out of the fridge” is designed around keeping the temperatures and textures correct. With cow butter, this is easier: cow butter starts to soften around 68F/20C, and doesn’t melt until ~90F/32C. While solid, cow butter can be nice and pliable, making it relatively easy to match to the dough texture. The coconut oil that forms the base for the Miyoko’s butter, meanwhile, has a melting point of ~75F/25C, way closer to room temperature. Additionally, it doesn’t get quite as pliable.
Timing and logistical notes
This recipe expects to be done in three phases: make the dough (~20-30 minutes total), laminate the dough and shape croissants (~3 hours from start to finish), and then bake the croissants (~2-3 hours from start to finish), with 6-10 hours between each phase. For me, this roughly corresponds to making the dough before work, laminating and shaping after work, and then baking on a weekend morning.
Recipe
Ingredients
- 270 mL water
- 14g (two packets) instant yeast
- 500g all-purpose flour, plus a little extra for rolling out and making the butter block
- 10g salt
- 40g granulated sugar
- 113g vegan butter, any kind
- 227g (one package) Miyoko’s Unsalted Vegan Butter
- Soy milk or other nondairy milk (optional)1
Supplies
- Rolling pin
- Measuring tape
- Plastic wrap
- 2 half-sheet pans or cookie sheets
- Parchment paper
- Pastry brush (optional)
- Enough counter space to roll dough to 24in x 8in, or 60×20 cm
Phase 1: Make the dough (20-30 minutes)
Measure out 80g of your vegan butter and soften it (if it melts a little, that’s okay!).
Mix the yeast into the water and let it stand for a few minutes.
In a separate, larger bowl, combine the flour, salt, and sugar together and mix well.
Add the water and softened butter to your dry ingredients and mix until the dough comes together comes together, then turn it out onto the counter and knead until it’s smooth and supple. 2
Form the dough into a roughly square shape, about 5″x5″ (about 12cm x 12cm, and there’s no need to be precise on this one), wrap in a generous quantity of plastic wrap (you will be reusing this), and put it in the refrigerator for 6-12 hours.
Phase 2: Lamination & Shaping (~3 hours)
Throughout this phase of the procedure, I give suggested resting times in the fridge. This is just based on my experience; if you notice that the dough is too soft or too firm/cold at any point, adjust them as needed for your own kitchen.
Remove your cold dough from the refrigerator and put it on the counter.
Lay a parchment paper sheet on the counter and lightly flour one half of it. Take the package of Miyoko’s butter and slice it into even slices, then lay it in roughly a square shape on the center of the parchment paper. Slice your remaining 33g of other vegan butter and lay it on top, then dust the top of the square with flour.
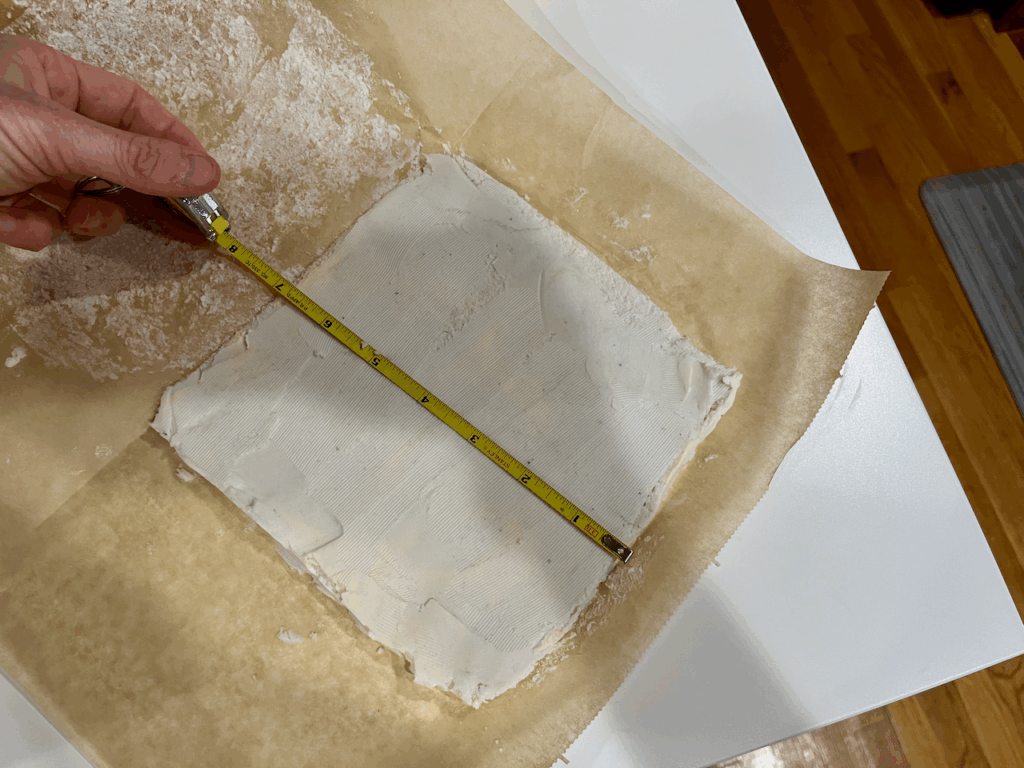
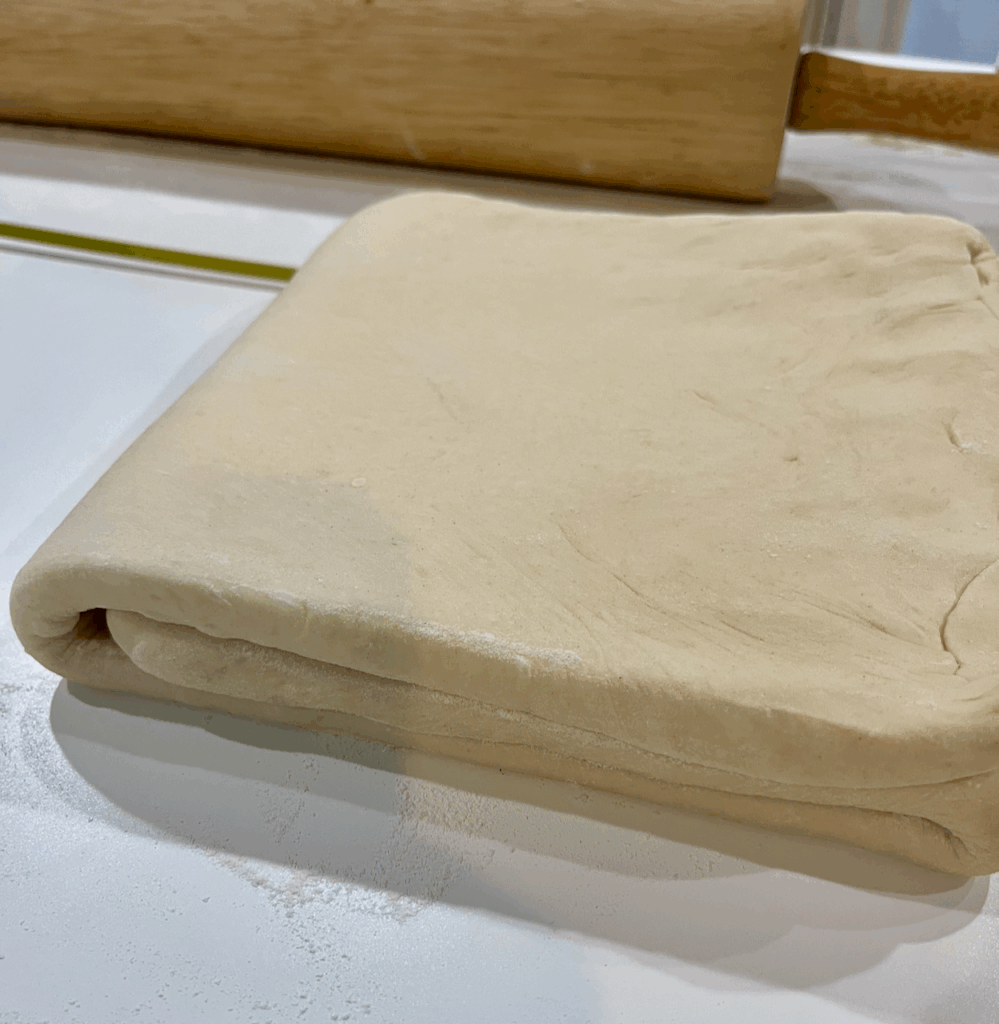
Fold the parchment paper over and bang on the butter to break up the slices and turn it into a single, homogenous blob. Fold it over and use your rolling pin to shape it into roughly a 7×7″ (18cm x 18cm) square. Measure it, trim excess and place it back on top of the square, then even out the thickness of the square. Note: If this is your first time making these, pay attention to what the butter feels like here – this is roughly the “workable” texture that you want while you’re laminating it. At the end of this process, your square should look like this:
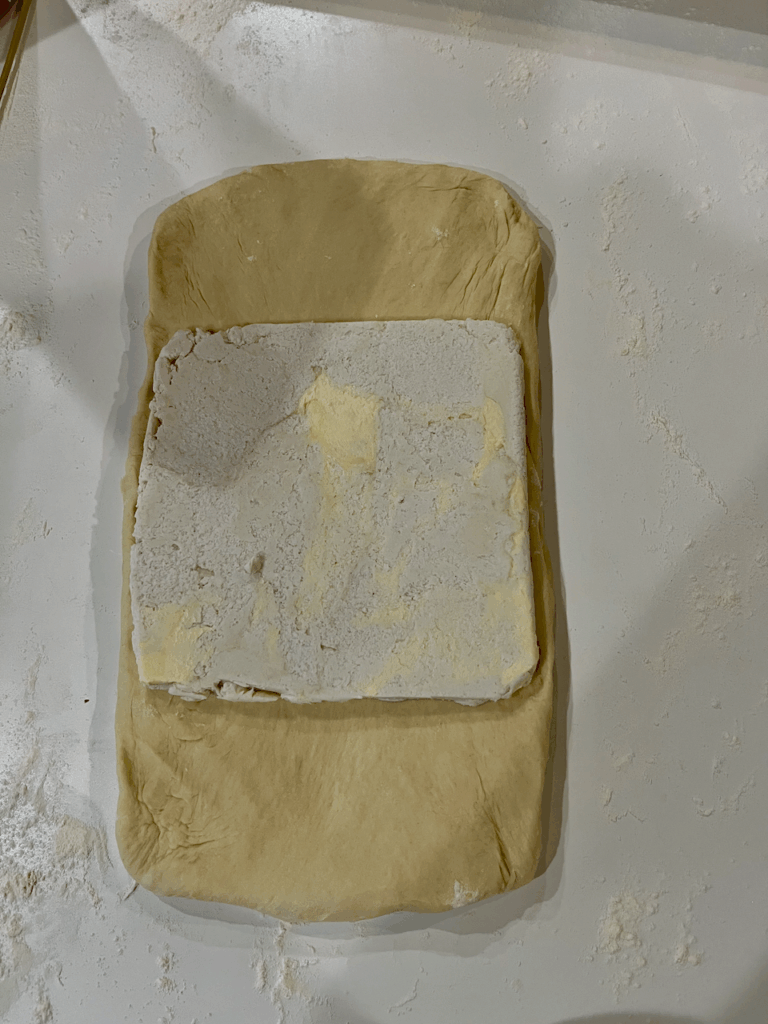
Put the butter square in the fridge. Lightly flour the countertop and roll your dough into a rectangle 14″x7″ (36cm x 18cm). Remove the butter square from the fridge, and place it in the center of the dough rectangle. There should be two flaps of dough on either side; fold them into the center and pinch the seam closed.
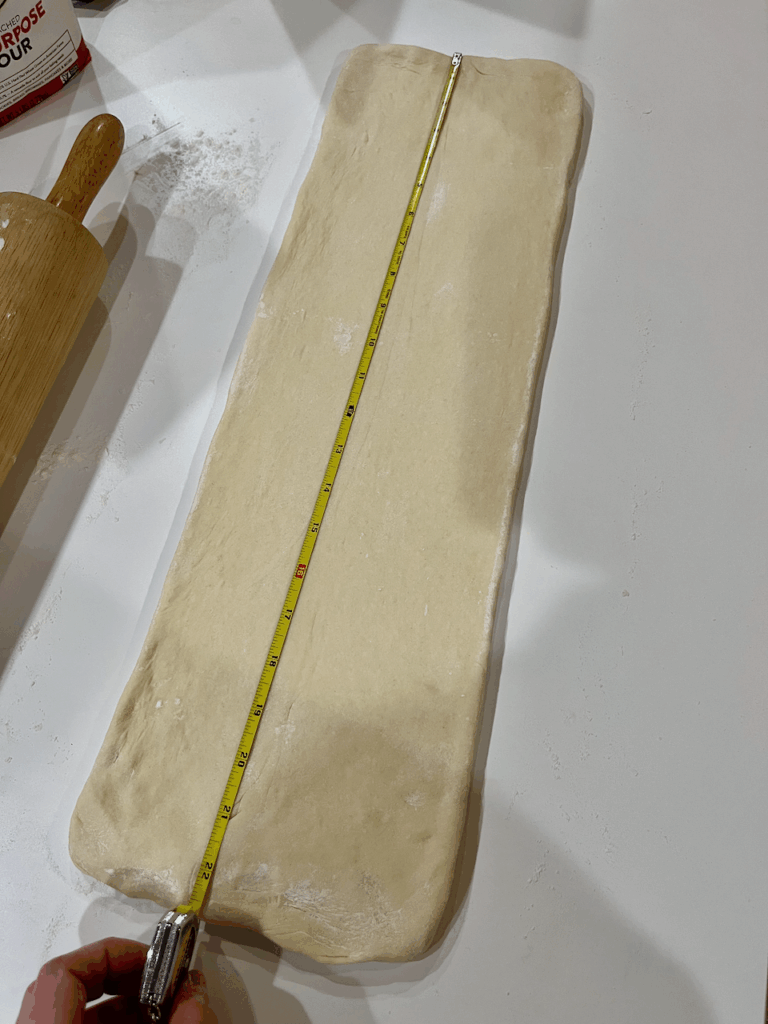
Rotate the folded dough so that the seam is vertical and in front of you. Starting from the middle, roll the dough into a longer rectangle: 22″ x 7″ (56cm x 18cm). Periodically check to make sure the dough isn’t sticking to the counter, and dust with additional flour as necessary. You can also flip the sheet over to help avoid sticking. Don’t force anything: feel free to let the dough relax a little if it becomes hard to roll out. Try to square up the corners. Here’s what it looks like when rolled to its full length:
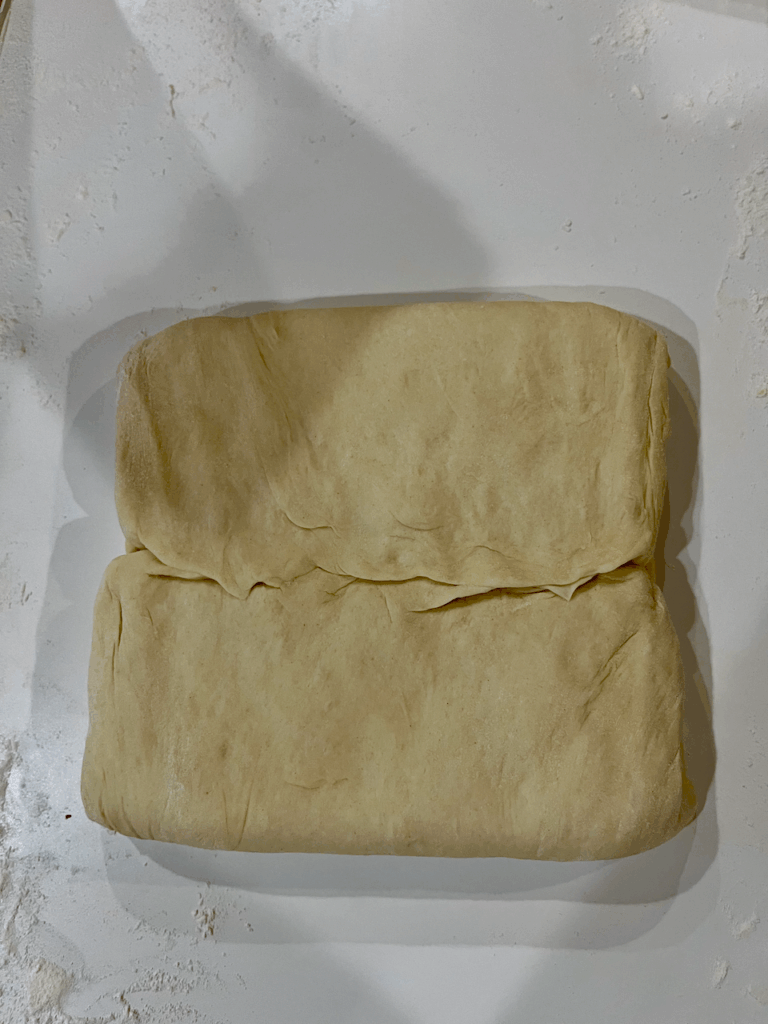
Do a letter fold: fold one-third of the dough inward, then cover it with the other third of the dough. After folding, it should look like this:
Re-wrap the folded dough in plastic wrap and put it in the refrigerator for 20 minutes.
After 20 minutes, remove the dough from the refrigerator and rotate it so the open edge is to your right and the “spine” of the fold is to your left. Roll it out again to 22″ x 7″ (56cm x 18cm).
This time, do a book fold: fold each edge of the dough over so the two edges meet in the middle, like this:

Fold the dough in half at the center line, so you have four layers of dough stacked up together. Re-wrap the dough in plastic wrap and put it in the refrigerator again, this time for 40 minutes.
While the dough is in the fridge, line two half-sheet pans with parchment paper.
After 40 minutes, remove the dough from the refrigerator. Again, rotate it so the open edge is to your right and the “spine” is to your left. This time, roll it out to 24″ x 7″ (60cm x 20cm)
Put your measuring tape alongside the bottom long edge of the dough. Score the edge slightly every 4″ (10cm). Move the measuring tape to the top edge of the dough. Starting 2″ (5cm) in, score the edge slightly every 4″ (10cm), so you have alternating scores on the top and bottom of the rectangle. Using a pizza cutter or sharp knife, make a series of straight cuts between your scores, cutting your rectangle into a series of triangles.
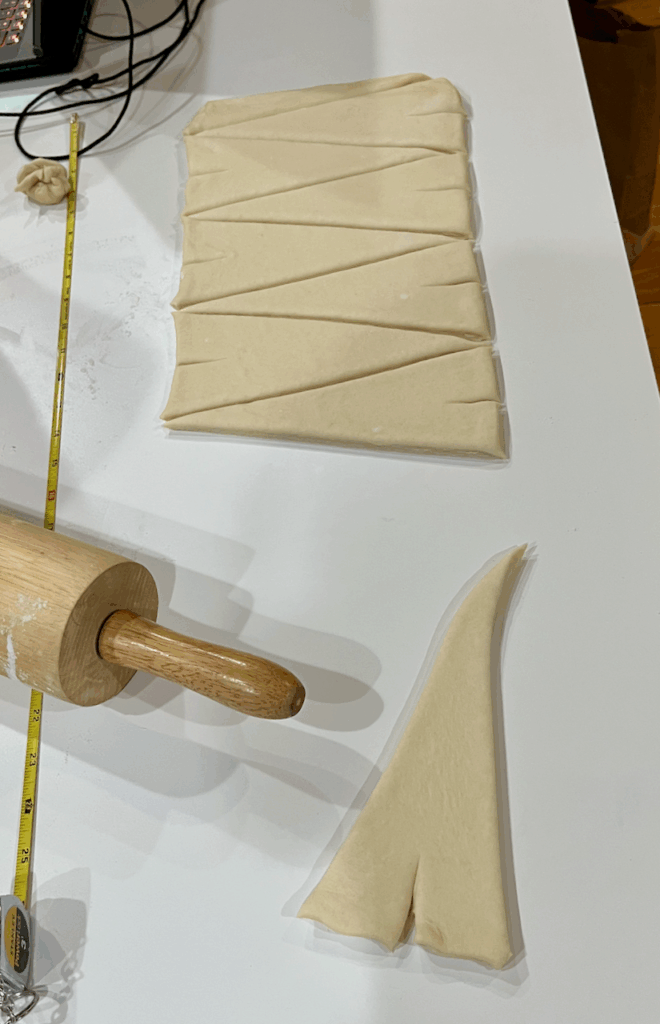
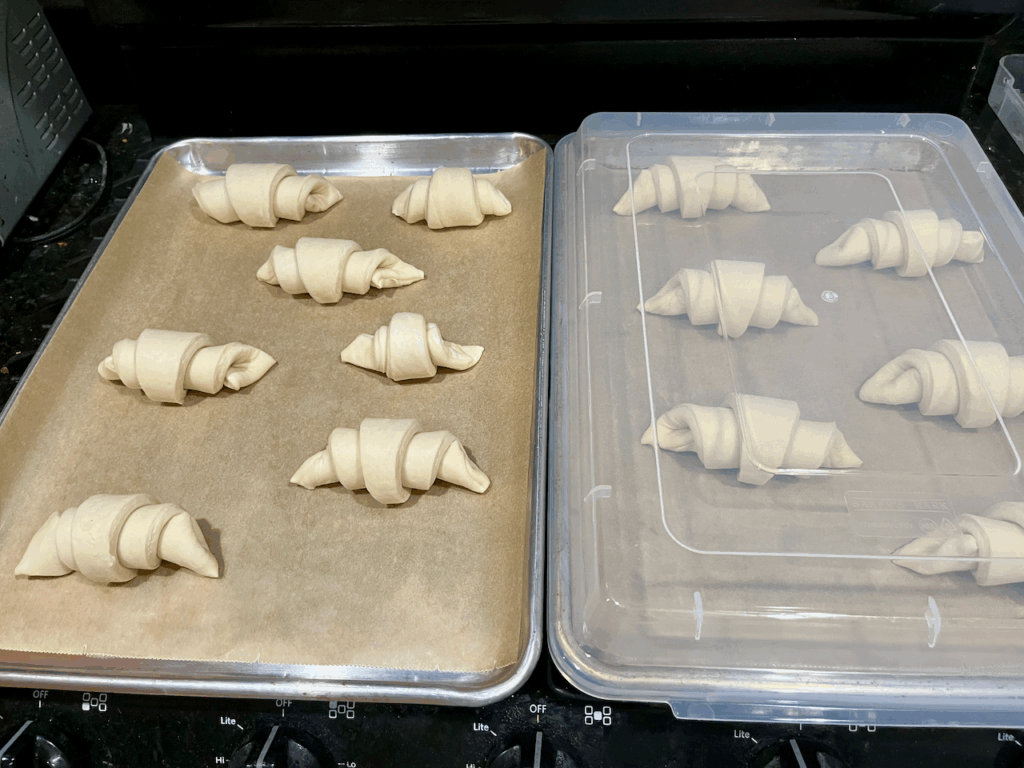
Take each triangle, make a cut in the center of the base of the triangle, gently stretch the triangle out a bit, and then roll it up to make the croissant shape. Place it on the prepared baking sheet so the point of the triangle is on the bottom (this prevents the croissants from unrolling in the oven later)
Once all the croissants are shaped, cover the baking sheets with plastic wrap or a cover and place them in the fridge overnight.
Phase 3: Baking (2-3 hours)
Don’t worry, most of this phase is not active time.
Remove the croissants from the refrigerator, uncover them, and check how puffy they are. Croissants that are ready for the oven should be puffy and jiggle slightly when the pan is gently shaken.
Assuming the croissants are not ready yet, cover them back up and let them come up to room temperature and rise on the counter. Check them after an hour or so, then every 30 minutes.
Once the croissants look like they’re getting close to baking, preheat the oven to 400F/200C. Just before the preheat is done, brush the croissants with your nondairy milk.
Bake the croissants for 5 minutes, then lower the oven temperature to 350F/175C. Bake them for another 20-25 minutes, rotating the pans in the middle of baking, until the croissants are a deep golden brown.
Allow the croissants to cool on the pan for 5-ish minutes, then transfer to wire racks. Let them cool for 10-15 minutes total before eating.

Postscript
I’m posting these because I think they’re good, but they definitely still have room for improvement! Here’s a cross-section of my latest attempt:
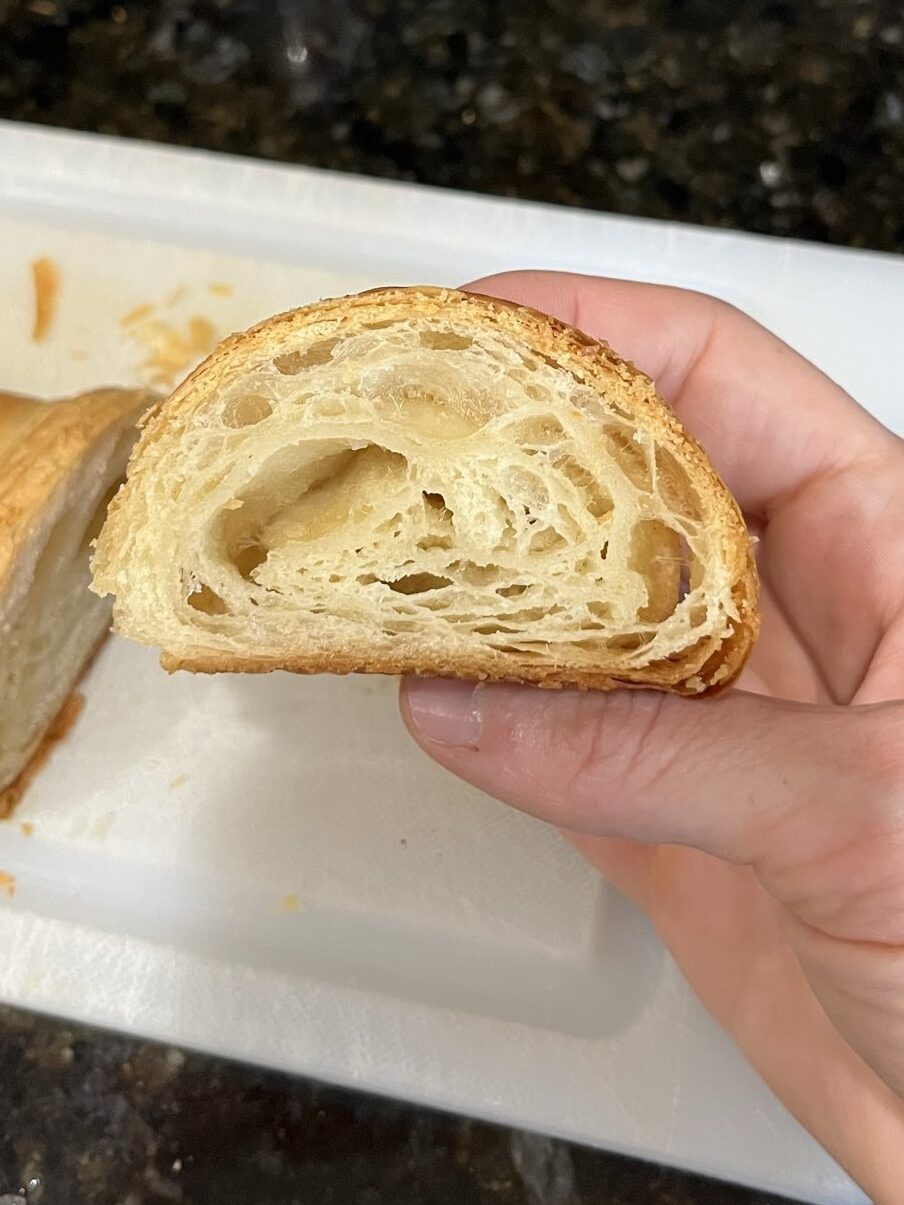
They leaked a lot of butter while baking, like all my attempts. That, combined with the butter used can give them a bit of a greasy texture. The center is a bit dense. I’m not 100% sure I waited long enough on the proofing (a good proof should fix the butter leaking problem if there are no tears in the lamination), and I’m really unsure about gluten development in my last batch. These were suspiciously easy to roll out, with the dough hardly fighting me.
That said, on the Global Croissant Ranking (aka, ranking vegan and non-vegan on the same scale), these score pretty well: over grocery store and Starbucks regular croissants for sure, with better flavor than some commercial bakery vegan croissants, and at least competitive overall with some others (though they’re not yet even with the best I’ve had).
Footnotes
- This is a replacement for an egg wash, so sweetened soy milk is probably the best milk for this, because it has the highest protein of any nondairy milk along with some sugar to provide browning. You could also just add some sugar to unsweetened soy milk. Other nondairy milks will probably work fine, but I haven’t tested extensively. ↩︎
- I’m genuinely not sure how much to develop the gluten in these, and will be doing more testing. I’ve seen some posts advocating flours with less protein content than the King Arthur All-Purpose, which were clearly concerned about not having too much gluten. Others called for bread flour. The gluten development is definitely important because that’s what makes the layers work. We’re also going to be rolling and folding the dough, which will add more, as well as resting it for 6+ hours, so maybe kneading until the dough passes the windowpane test is unnecessary. ↩︎
Leave a Reply